


As expected, I was unable to get out for a ride on Wednesday but then also opted to take today off and catch-up on some much needed sleep. It was an exceedingly busy work day, and I was utterly drained, requiring some relaxation before having the motivation to get Red Chameleon out on the tarmac once again.
Today I will share a few recipes I have recently started using, opting for homemade items rather than store bought. One of the great benefits about do it yourself dishes is the ability to control what goes into the dish.
When buying store bought food, items are often filled with unnecessary preservatives, sugars, and other unhealthy or undesired chemicals. For example, I prefer not using processed sugar, and that is one of main motivators for me to take on some of these items on my own. Plus, it is always fun to experiment with new iterations of a tasty dish, adding or removing different ingredients based on mood on any given day.
Over the past couple weeks I have experimented with three specific items:
- Energy balls
- Almond butter
- Rice cakes for cycling
In all of these cases, the recipes are super easy, do not require a substantial amount of time nor financial investment, and offer a great deal of flexibility. I covered the energy balls in a previous post but will put the recipe here to keep it easy to locate.
Without further ado, here are the recipes.
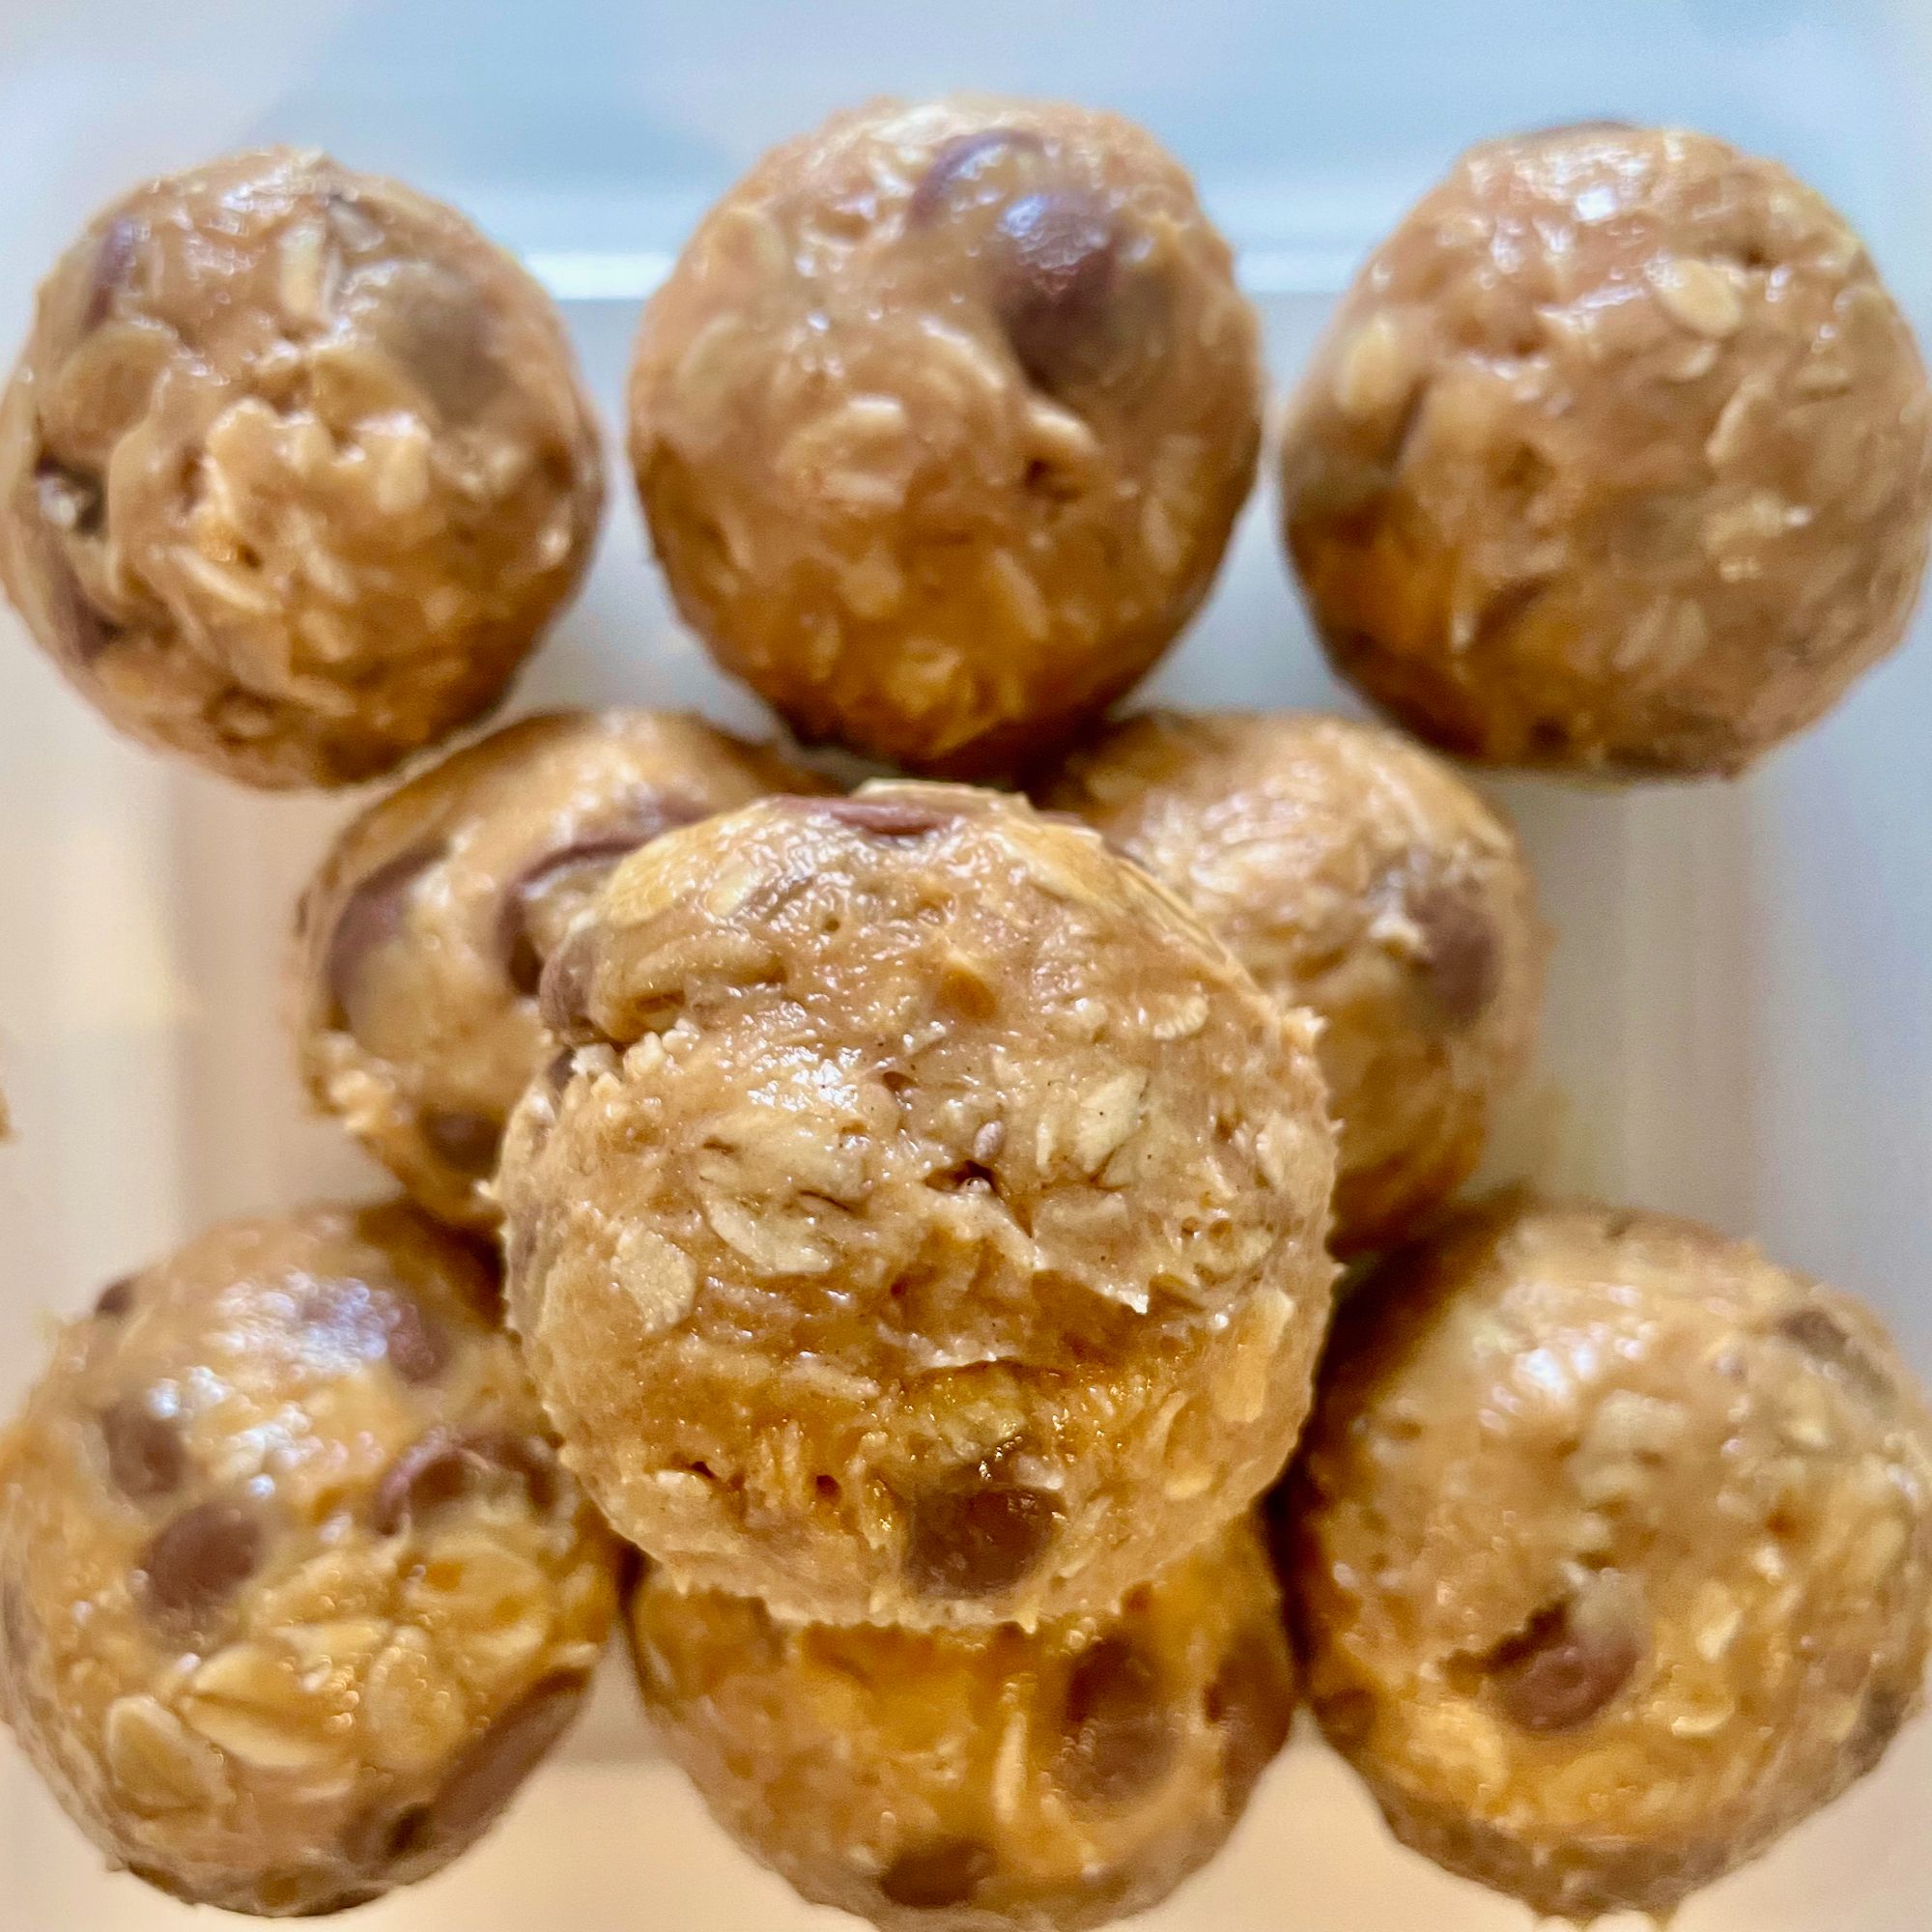
Energy Balls
Ingredients:
- Old fashioned rolled oats - 1 cup
- Creamy peanut butter - 1/2 cup
- Honey - 1/3 cup
- Maple Syrup - 2 tablespoons
- Milk chocolate chips - 1/2 cup
- Chia seeds - 1 tablespoon
- Vanilla extract - 1 teaspoon
- Ground cinnamon - just a pinch
Directions:
- Put all the ingredients into a bowl and mix thoroughly. Ensure there is fairly even distribution of the ingredients across the entire mixture.
- Cover and set in the refrigerator for at least two hours, overnight preferred. The goal is to give the mixture enough time to harden and set.
- Remove the bowl from the refrigerator. Take a spoonful of the mixture and roll into balls roughly 5cm in diameter.
- Cover and keep refrigerated.
What I like about this recipe is there is so much room for customization. The second time I made it I used a portion of almond butter and some leftover Kirkland nut butter, and mixed with the remaining ingredients. The next iteration I intend to make homemade peanut butter and use that instead of store bought.
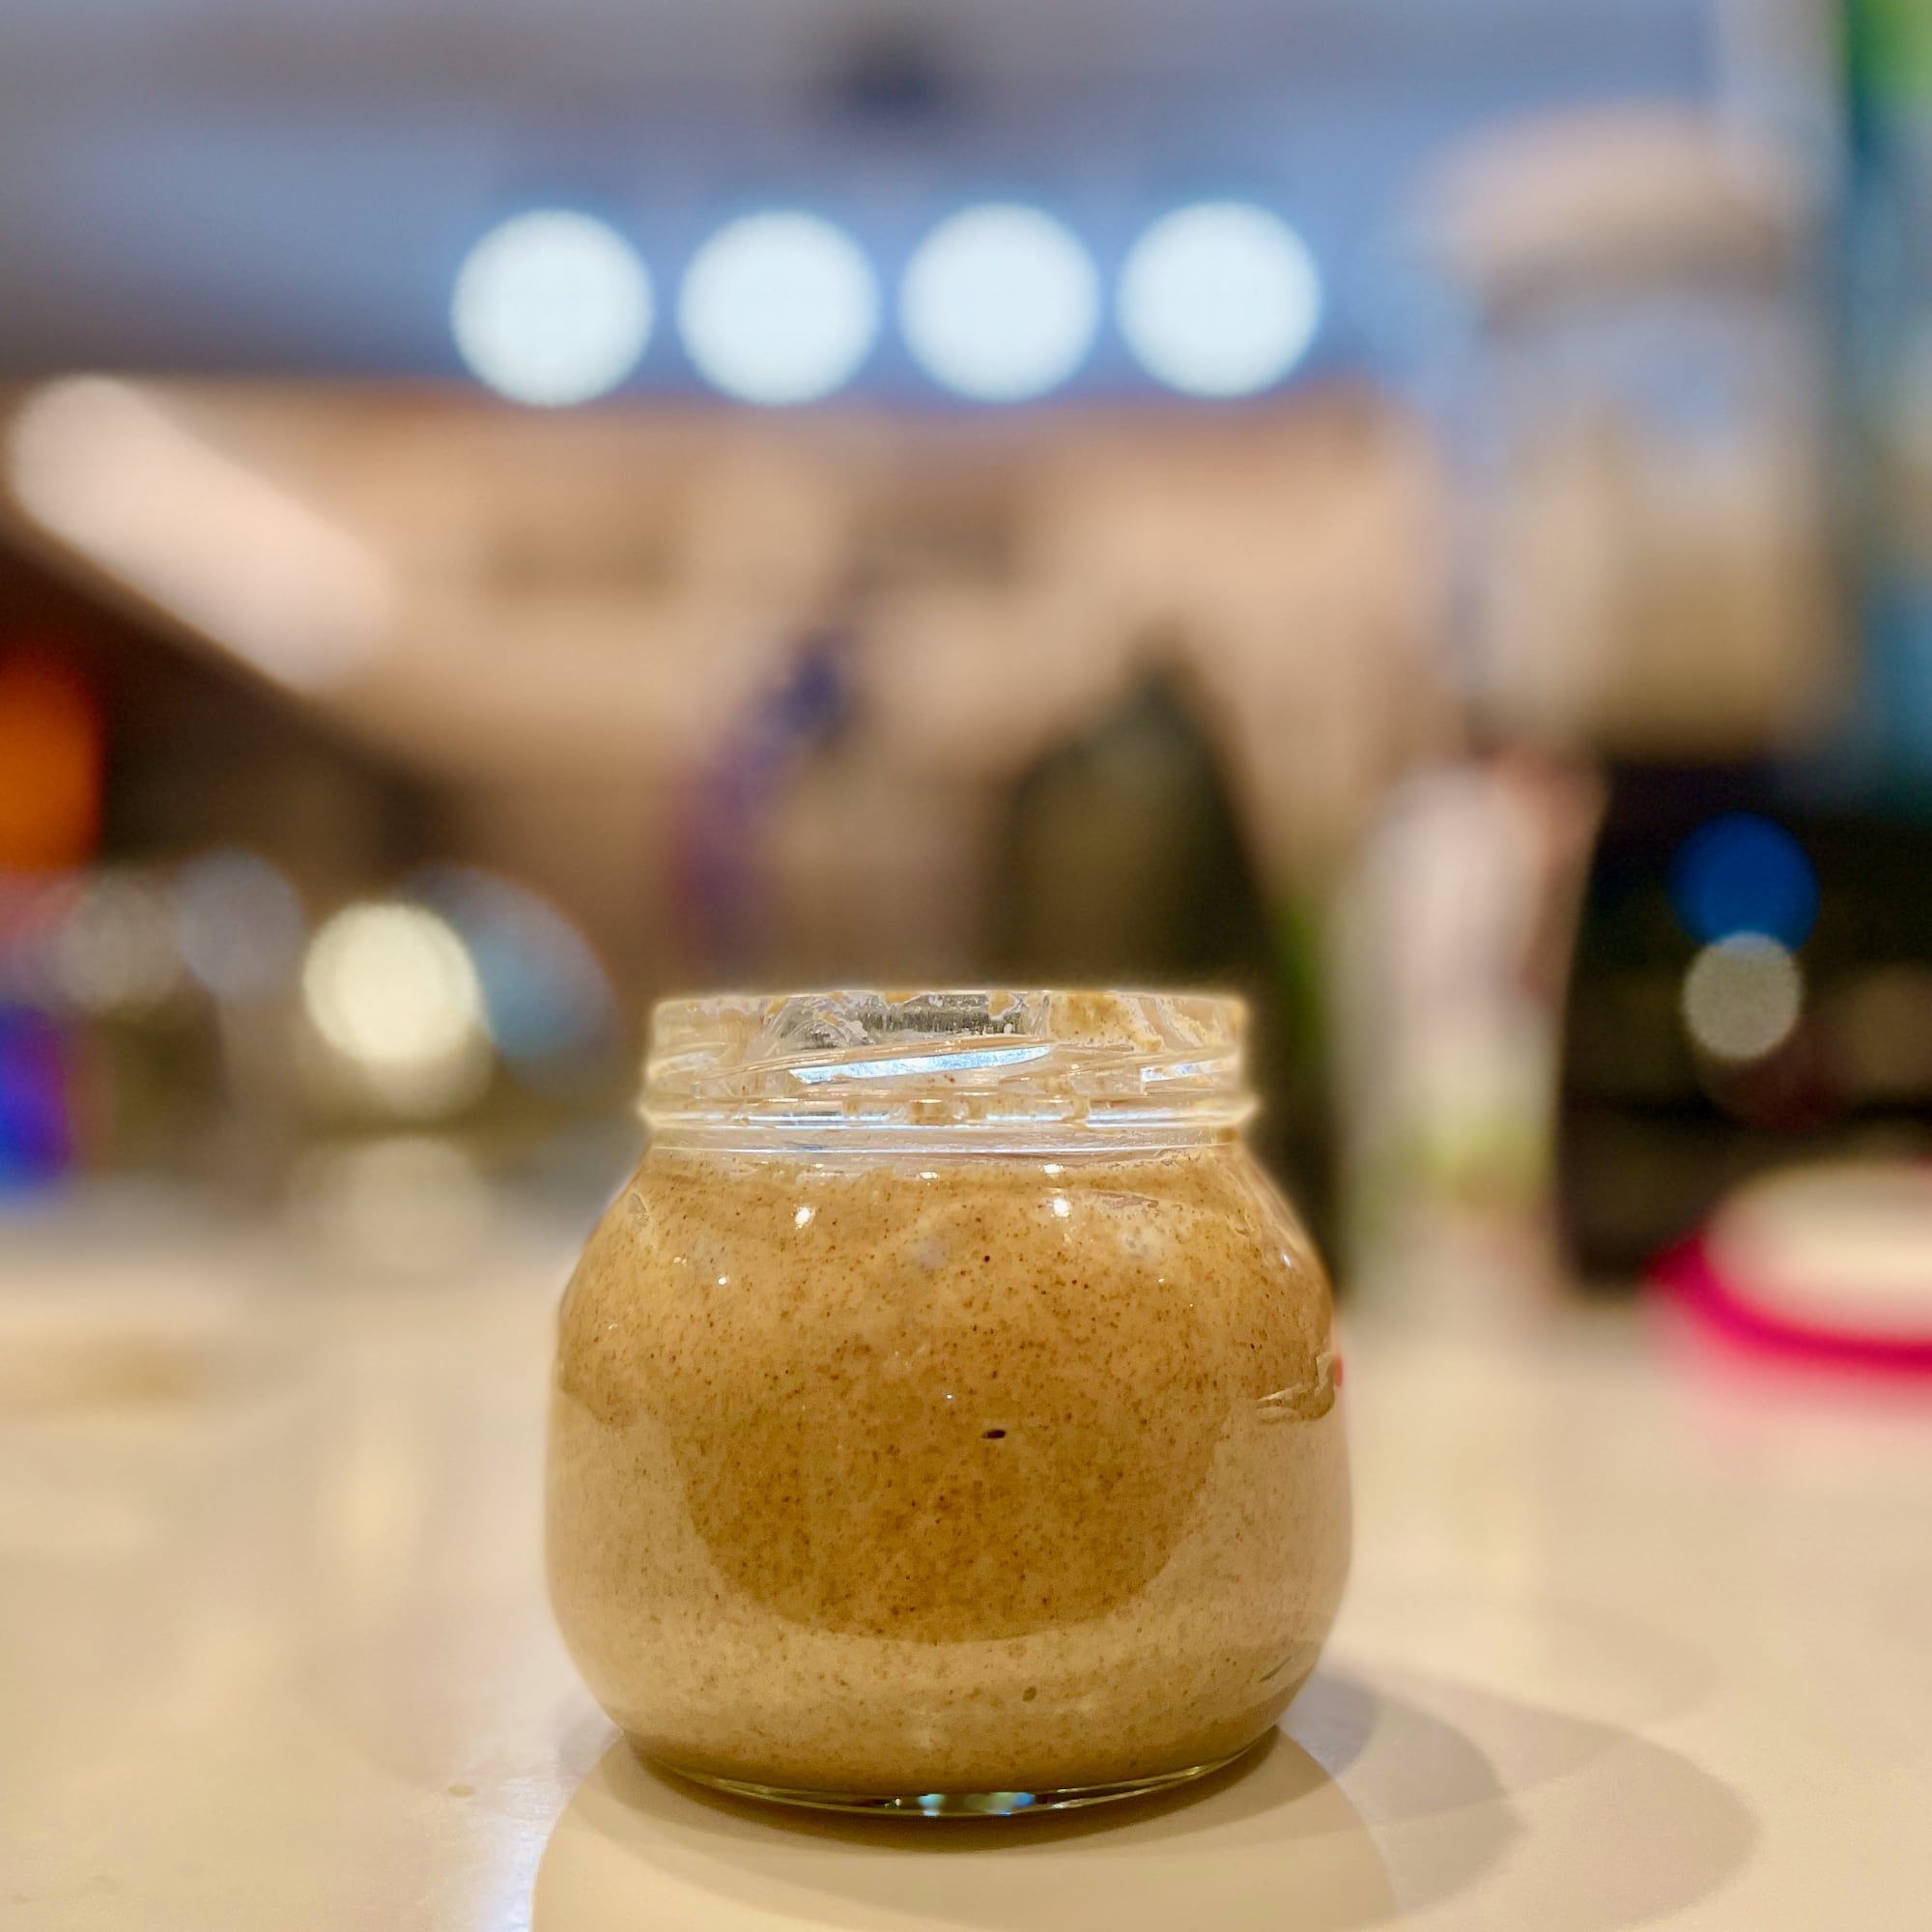
Almond Butter
Ingredients:
- 3 cups raw almonds
- ¼ teaspoon salt
- ¼ teaspoon ground cinnamon
- ½ teaspoon vanilla extract
- 2 tablespoons maple syrup
Directions:
- Preheat oven to 180c/350f.
- Put the almonds on a baking sheet, spreading them across so they are laying completely flat.
- Toast the almonds for 10 minutes, stirring halfway
- Remove the baking sheet from the oven, leaving the almonds to cool for approximately ten minutes, or until they are warm enough to handle with your fingers.
- Place the almonds in a blender or food processor, and blend until creamy like you would expect from store bought peanut or almond butter. During the blending process you will need to repeatedly stop, open the lid, push the mixture down towards the blades, and restart the process.
I found using a speed setting of 5 (on a scale of 1-10) was ideal, and it took approximately 10 total minutes of blending before the mixture was perfect. Use your best judgement based on your understanding of your tools. You also may need to stop and allow the mixture to cool for certain periods of time as well. - When the mixture has reached that smooth and creamy state, with no powdery residue, add the salt, ground cinnamon, vanilla extract, and maple syrup.
- Blend again until thoroughly mixed, retaining that creamy texture from the previous step. This may, or may not, result in additional minutes of blending, and potentially even cooling. It is really blender dependent.
- Allow the almond butter mixture to cool to room temperature.
- Transfer the mixture to a jar and close the lid tightly.
- Store in the refrigerator for up to two weeks, or until you smell or see any signs of spoilage.
I love this recipe for its simplicity yet complexity and versatility. Use high quality almonds for a much better overall flavor. The ability to add different ingredients to change up and enhance the taste is a ton of fun. Since making this the first time I have been using almond butter on everything. I am just about out and will need to make some more here real soon, and am currently conceptualizing how to customize this even further.

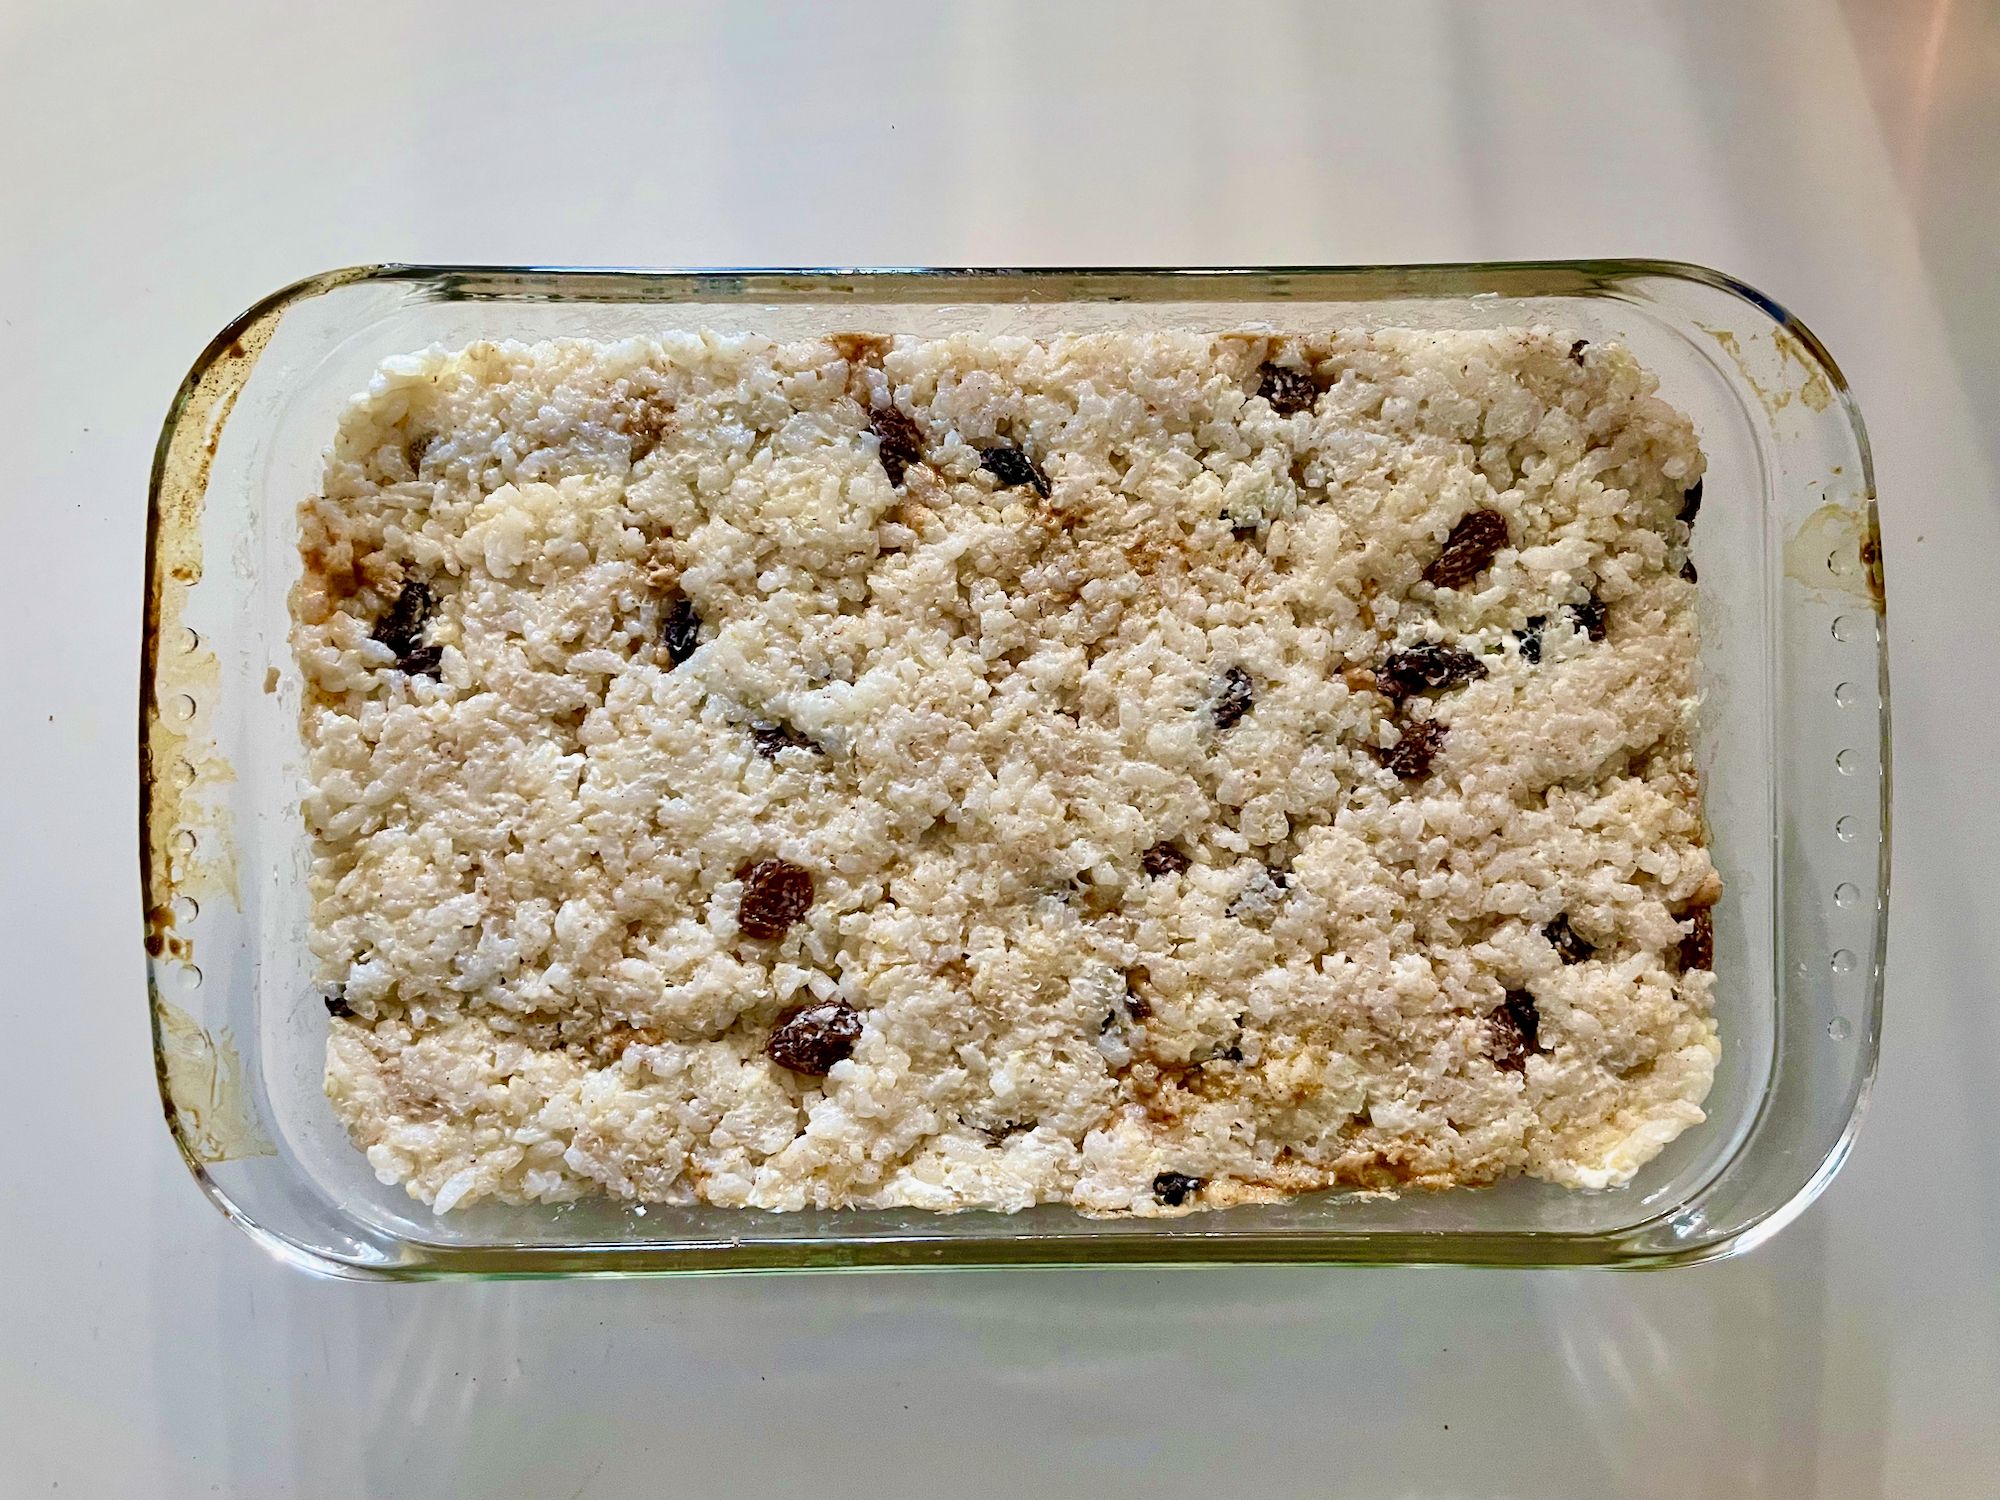
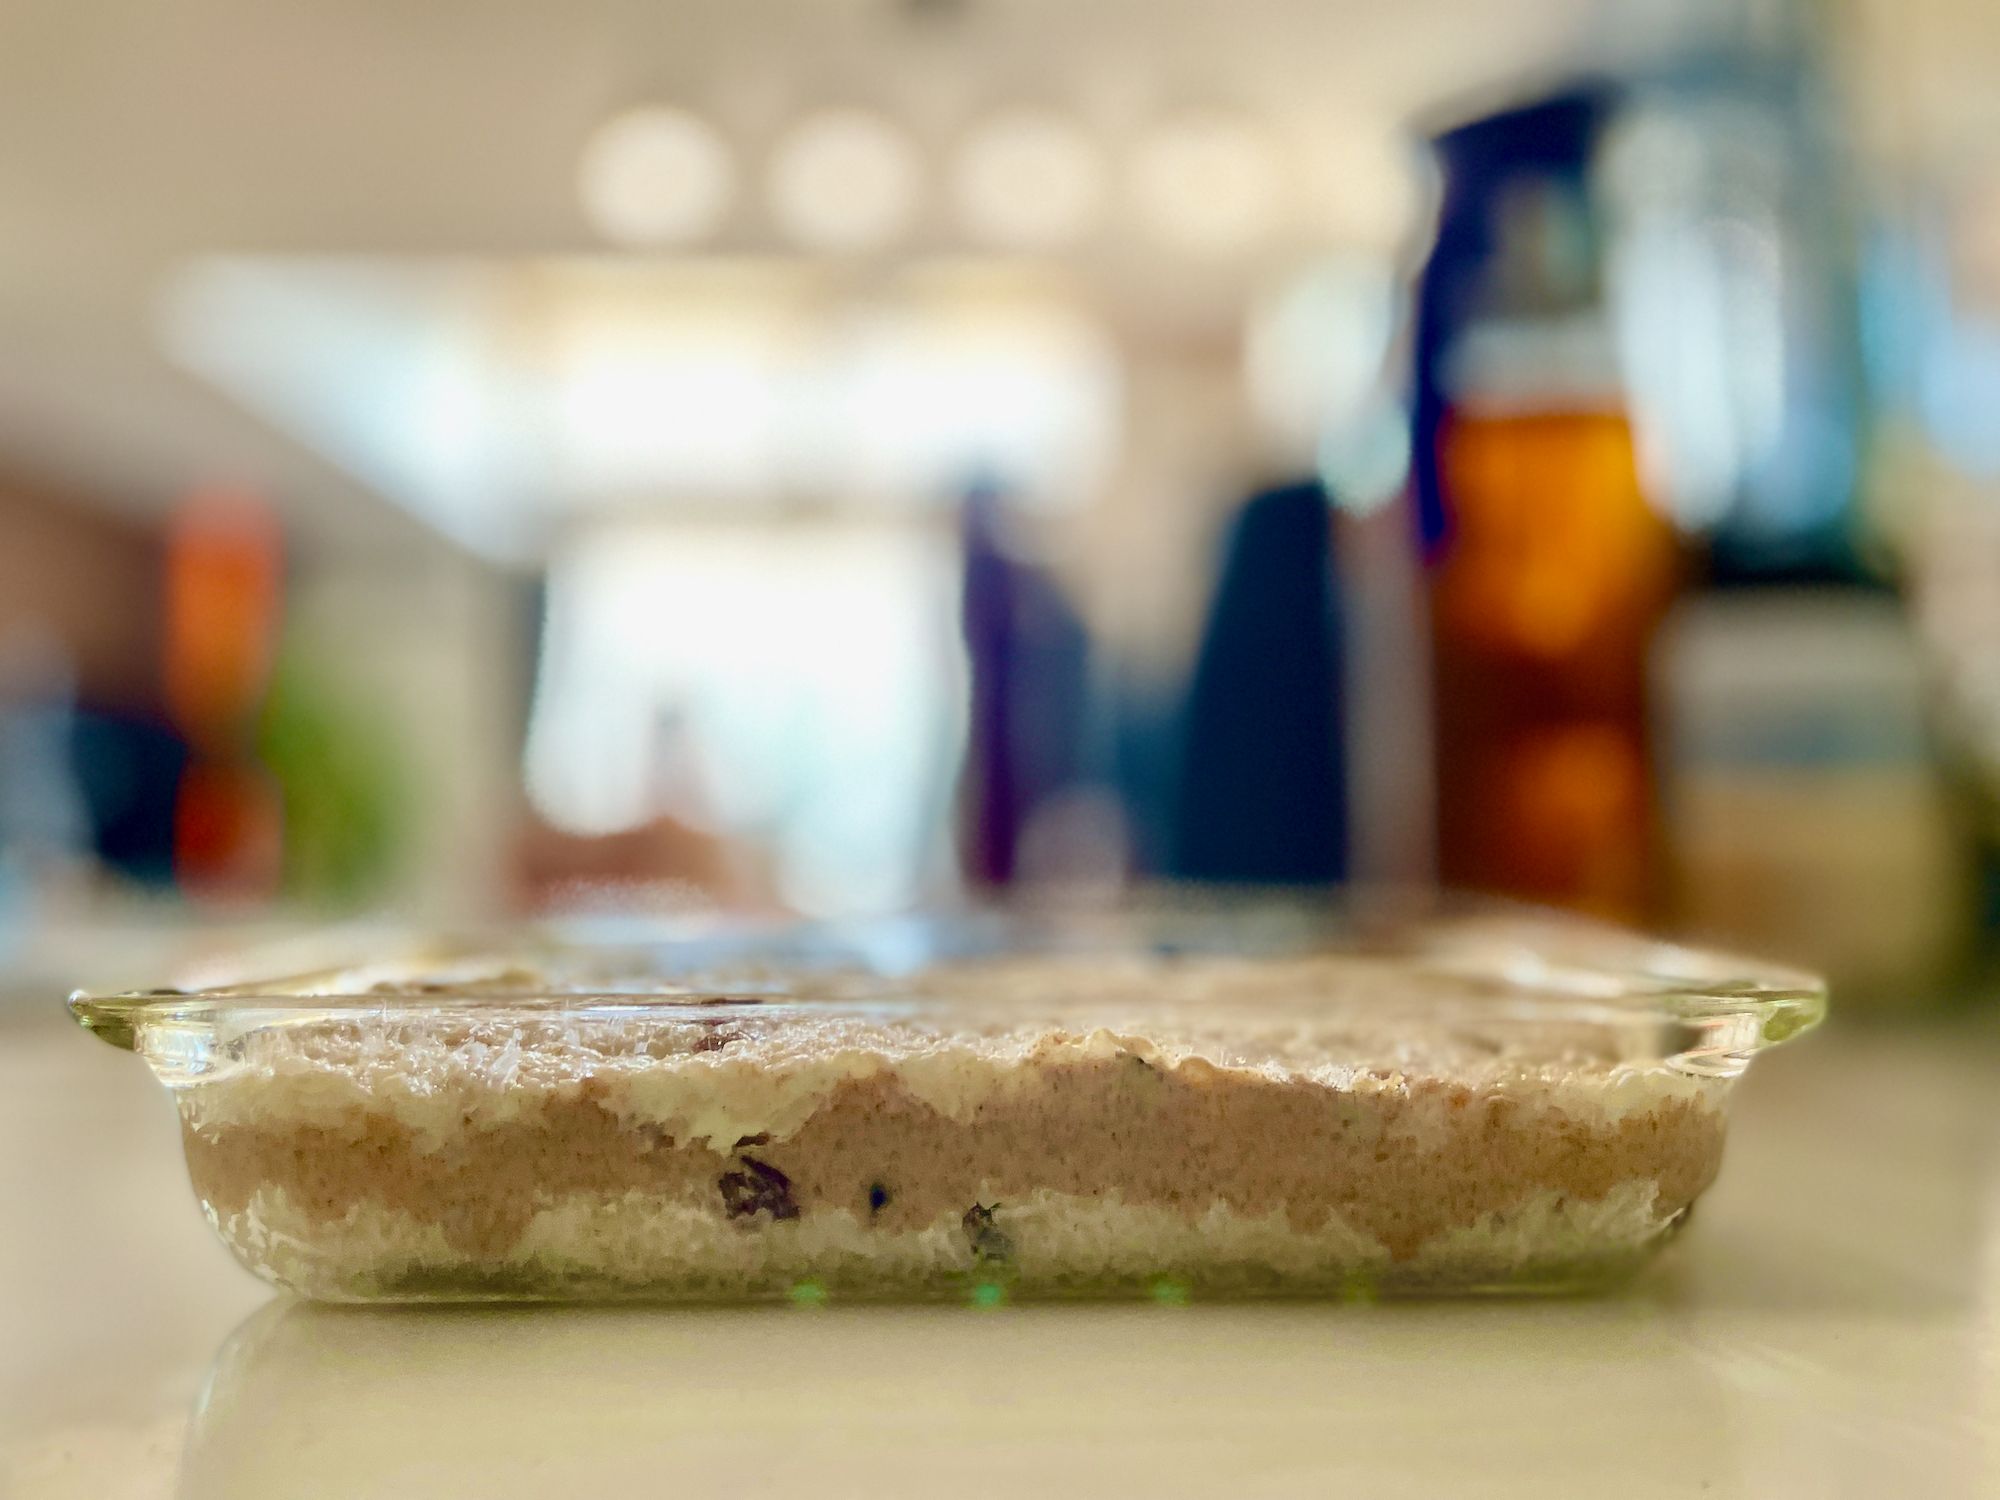
Rice Cakes
Ingredients:
- 1-2 cups of sticky rice
- 2 ½ cups cream cheese
- 2 tablespoons coconut oil
- 1 teaspoon vanilla extract
- Lightly sweetened chocolate chips or cacao nibs
- Almond butter
Directions:
- Use a rice cooker to cook the sticky rice as normal.
- Once finished, place the rice into a mixing bowl. Add the cream cheese, coconut oil, vanilla extract, and chocolate chips.
- Thoroughly mix until there is even distribution of the ingredients across the entire mixture.
- Cover and place the mixture in the refrigerator overnight.
- Next morning, place half of the mixture into a baking pan, flattening and smoothing it out and ensuring there are no air pockets.
- Spread almond butter across the entire top surface of the mixture.
- Spread the remaining rice mixture on top of the almond butter, creating almost sandwich like layers.
- Cover and return to the refrigerator for two hours.
- Remove from the refrigerator and cut into squares, wrapping each individual rice cake square in saran wrap or some similar method.
This is a relatively new recipe I am still playing around with because of its customizability. One thing I am considering is layering a light jam atop the almond butter, before adding the top layer of rice. I have also heard of folks using crushed bacon and maple syrup instead of almond butter. It really can be anything you like, depending on whether you want something sweet or savory.

So there you have it: three very simple recipes for some really healthy, for the most part, yet very tasty food. The great thing here is the possibilities are endless, allowing for a ton of customization based on personal perference. I focus a little more on the sweet side since these recipes are primarily to help me have some cycling energy food. I intend to try savory rice cakes next time to see the outcome.
Playing around with these healthy recipes is a ton of fun, and way better than using store bought nonsense. I encourage everyone to reconsider paying for junk, and focus on eating homemade goodness.
Unless it is raining when I wake up tomorrow morning, it is back on the tarmac for me for a nice Friday morning end-of-the-work-week ride. Hopefully the weather cooperates so I can get some much needed exercise after taking two days off.


